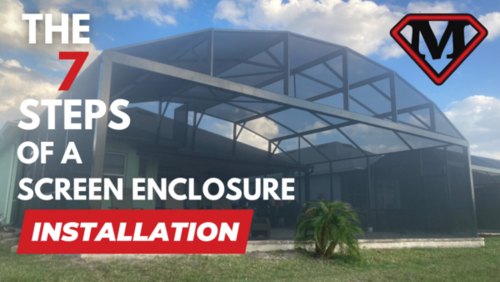
The seven steps of a screen enclosure installation.

Miller’s Screen has been in the aluminum and screening industry for over 40 years and has learned a lot about the installation of a screen enclosure. While adding a screen enclosure to your backyard can be a great way to extend your living space and enjoy the outdoors, a lot of planning, decision-making, and understanding occurs throughout the process.
The staff at Miller's Screen comes together to be the best, build the best, and give their customer's the best experience to meet all of their aluminum needs while taking pride in their work and are personally involved in every project from beginning to end.
Here is a step-by-step process of a screen enclosure installation:
Step 1: Decide on a location and size.
The first step in planning for a screen enclosure installation is to decide on a location and size for the structure. Consider factors like the layout of your backyard, the amount of space you have available, and how you plan to use the screen enclosure. You will also want to decide how the screen enclosure will fit within your existing landscaping and outdoor living spaces.
Step 2: Choose a design and materials.
Once you have a general idea of where you want the screen enclosure located and how big it should be, you will need to choose a design and materials. Aluminum and vinyl are two popular options, each with advantages and disadvantages.
Step 3: Obtain necessary permits.
Before the installation process can begin, you may need to obtain permits from your local government. Regulations and requirements will vary depending on where you live. Check with your local building department to find out what is required. Our staff at Miller's Screen can assist you with this process and ensure that your screen enclosure meets all relevant codes and regulations.
Step 4: Schedule the installation.
Once you have decided on a design, the materials, and obtained the necessary permits, you can schedule the installation of your screen enclosure. During this process, a team of professionals will come to your home and begin building the structure.
Step 5: Prepare your backyard.
After you schedule your installation date, you must prepare your backyard to be transformed into a busy job site. The best way to prep your backyard is to ensure that we have access to your backyard outdoor outlets to power our tools. Be sure to remove any décor or furniture from the area and cover anything remaining with plastic to protect it. It is also prudent to arrange for children and pets to be elsewhere throughout the installation process.
Step 6: Keep the lines of communication open.
At Miller's Screen, we strive for trouble-free installations, but sometimes unforeseen circumstances can occur, which is why we strive to keep the lines of communication open. If you have a problem during the installation process, please let us know, and try to be available so we can contact you if we encounter issues.
Step 7: Enjoy your new screen enclosure.
After the installation is complete, you can begin to enjoy your new screen enclosure. However, keep in mind that you will need to maintain your screen enclosure to ensure it lasts for years to come.
Miller's Screen proudly serves the Daytona Beach, South Daytona, Debary, DeLand, Deltona, Edgewater, New Smyrna Beach, Orange City, Ormond Beach, and Port Orange areas. We book our jobs quickly, so be sure to call to schedule your estimate appointment today; because at Miller's Screen, it is worth the wait!
Preparing for a New Pool Screen Enclosure Installation (dulandoscreen.com); Preparing your backyard for aluminum screen enclosure construction (newsmyrnabeachscreenenclosures.com); How to Prepare Your Backyard for Pool Enclosure Construction? (fabritechscreens.com)
Bookmark & Share
User Comments
Be the first to comment on this post below!
Previous Article
Most Popular Articles
- DUI Checkpoint to Run This Weekend on Dunlawton
- Some City Residents Advised to Boil Water Through Wednesday
- Detectives Believe Body Found in Daytona is that of Murder Suspect
- Mosquito-Borne Illnesses Increase in Volusia County
- Port Orange Woman Wins $750,000 On Scratch Off
- Police Seeking Person of Interest in Port Orange Death
- Port Orange Fire Department Deploys to Florida Panhandle
- Just Us Girls Event to Feature Charity Auction for Murder Victim?s Family


